Barco GD-33
August 31, 2024, 3:38 pm
April 14, 2025, 1:17 am
Summary
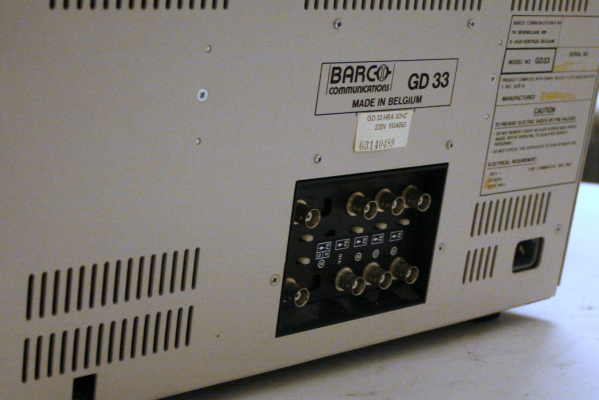
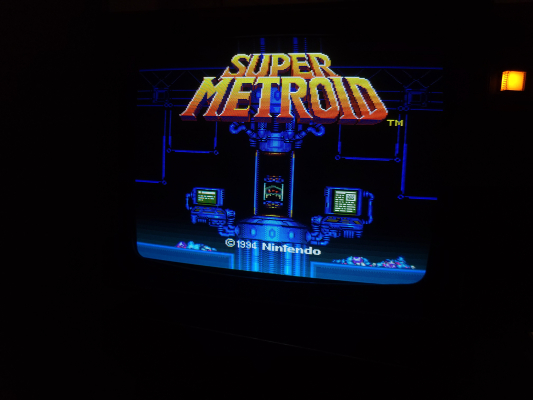
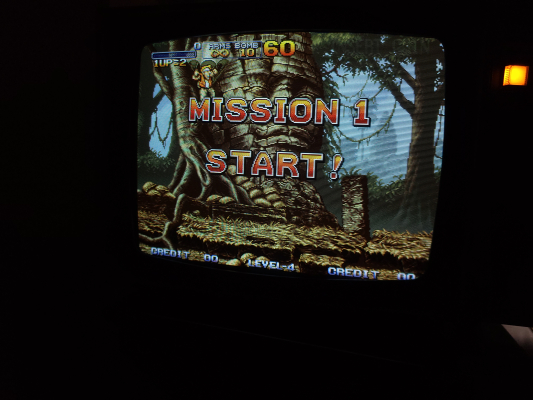
The Barco GD-33 was marketed to be sold alongside the GiGi VK-100 computer terminal. It is a very unique monitor for its time, boasting both a high TVL count and modular PVM-like design quality inside. It also supports analog RGB signals with external sync and sync-on-green despite being intended for use with a computer terminal.
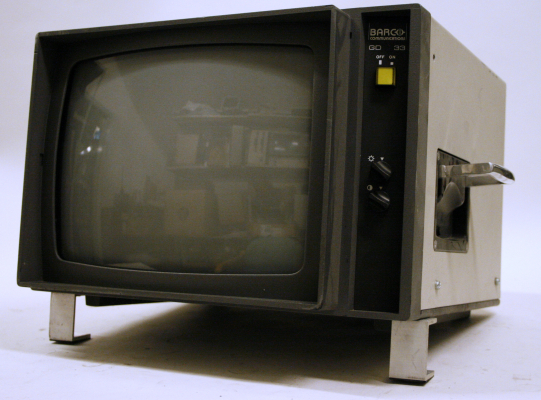
One of the unique features about the GD-33 is the fold-out carrying handle located only on the right side of the monitor.
Manuals
Common Repairs
Since this monitor is from 1982, it nearly always needs these repairs to work properly. You will likely have screen artifacts and other picture-related issues before completing these repairs:
-
Capacitor replacement: Recommend replacing all axial electrolytic capacitors with new ones. No need to use axial capacitors unless you want to maintain the aesthetic and replace with the same type and quality caps it was originally built with. I personally used KEMET axial film capacitors to replace the original EHR and Siemens ones. Recommended to at least re-cap the Switched Mode Power Supply board, the Horizontal Deflection board and the RGB Out board.
-
Cold Solder Joints: Check everywhere for cold/broken solder joints and lifted pins. Mine had a totally disconnected floating foot on a large film capacitor on the switched mode power supply. Amazingly the monitor still worked in this state but had all kinds of picture issues until I found that problem.
-
Faint group of lines slowly scrolling down picture: This monitor is very senstive to AC noise and requires a good earth ground connection at the wall outlet. If you don't have a good ground connection you will see AC noise lines in the picture.
-
Picture is too dark even with the brightness/contrast knobs at 50% adjustment. Drive adjustment doesn't fix it: You need to adjust the G2 (screen) voltage potentiometer. It is located on the neckboard and can be rotated using the pass-through hole for a phillips screwdriver.
Notes
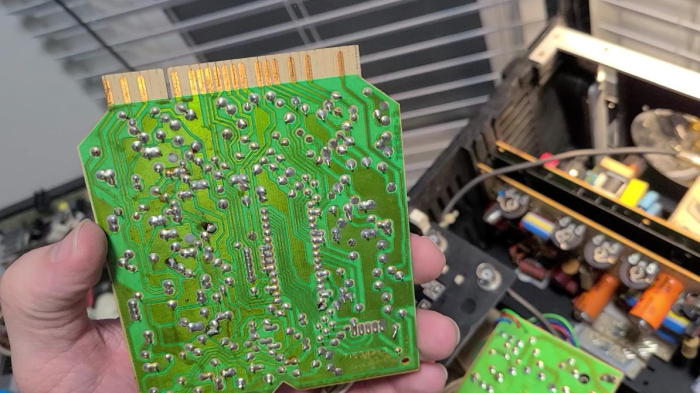
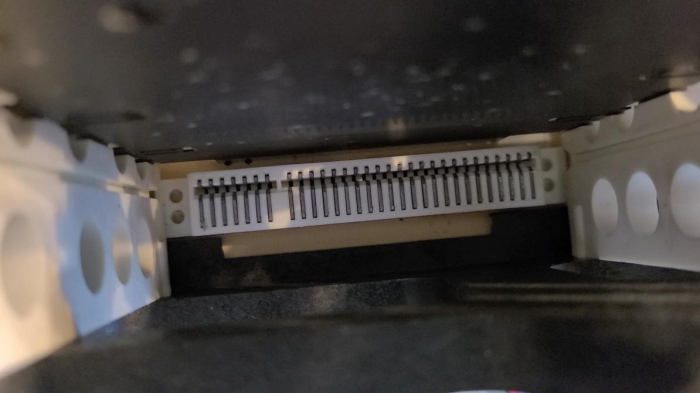
All of the boards inside this monitor are modular cartridge design. They can each be removed independently. If they are stuck and won't budge, carefully leverage them from their bottom corners using a flathead screwdriver braced against the case frame to nudge them up loose.
Videos
Gallery

| Specifications | |
|---|---|
| Brand: | Barco |
| Manufacturer: | Barco |
| Model: | 33 |
| Series: | GD |
| Viewable Size: | 13" |
| Inputs: | RGB |
| Sync: | CSYNC, Sync on Green |
| Native Resolutions: | 240p, 480i |
| Linecount: | 625 TVL |
| Formats: | NTSC, PAL |
| Aspect: | 4:3 |
| Adjustments: | Internal Potentiometers |
| Focus Type: | Single |
| Tube: | NEC |
| Deflection: | 90° |
| Mask: |
Slot

|
| Pitch: | 0.31 mm |
| Speakers: | None |
| Weight: | 37 lbs (16.8 kg) |
| Application: | Computer Monitor |
| Launched: | 1982 |
| Country of Manufacture: | Belgium |
| Degaussing: | Automatic on Power-on |
| Tag: | Needs Measurements |
 This work is licensed under a