Summary
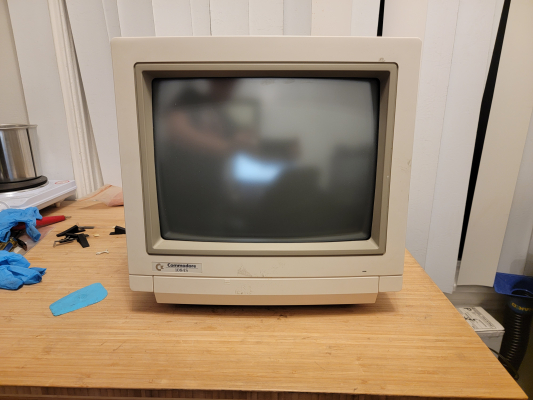
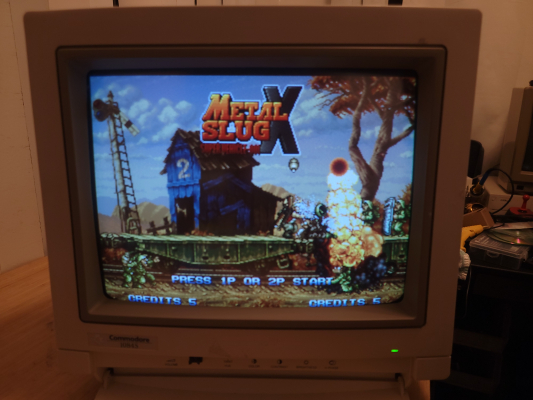
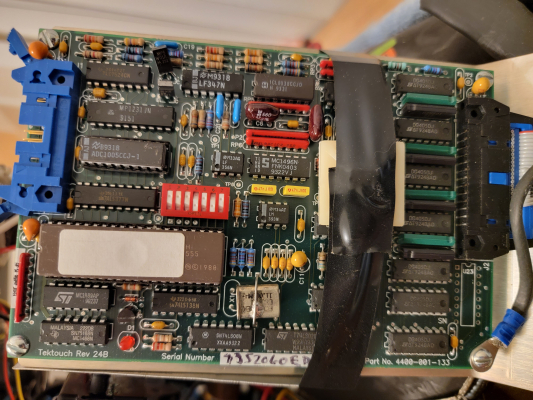
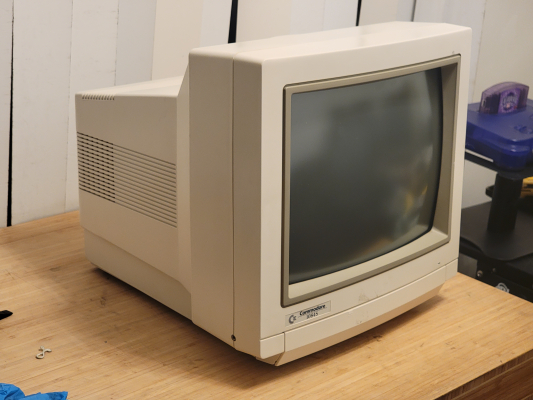
Amigo was a company that added custom capitative touchscreen kits to a variety of different monitors, ranging in size from 13" Commodores to 27" PVM-2530s. More info to come on how the touchscreen part of this system works later.
Manuals
Common Repairs
-
Capacitor replacement: Recommend replacing any "taicon" brand capacitors in these monitors as they have a high failure rate.
-
Broken Power Switch: The power switches in these have latches made of plastic that will eventually break. The easiest solution is to just tape the power switch all the way down and use an external switching power strip to turn the monitor on or off. If you want to repair the power switch you will need a SPDT switch that fits the very specific footprint of the original switch.
Capacitor List
Here is a full list of capacitors courtesy of https://gona.mactar.hu/
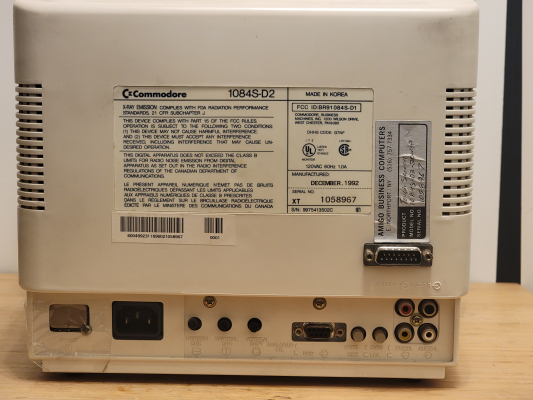
Commodore 1084S-D1 and 1084S-D2 Monitor Cap List
------------------------------------------------

Compiled by Guru (http://gurudumps.blogspot.com.au)
Updated by Guru 10th March 2019

Notes:
1. Higher voltage caps can be used.
2. DON'T use lower voltage caps or different uF rating!
3. In general if you want your monitor to last replace ALL of the capacitors.
4. Only use quality Japanese capacitors from companies like Rubycon, Nichicon,
   Nippon Chemicon, Matsushita/Panasonic etc etc.

Neck Board:
C508    16V 220uF
C510    160V 47uF
C512    16V 47uF

Main Chassis:
C109    200V 220uF (for 120V US version). Snap-In type capacitor
C109    400V 150uF (for 220V-240V EU/UK/AU version). Snap-In type capacitor
C110    50V 22uF
C111    50V 1uF
C116    160V 100uF
C117    160V 100uF
C120    35V 470uF
C130    50V 22uF
C217    50V 1uF
C219    50V 4.7uF
C220    25V 1000uF
C222    160V 10uF
C226    50V 10uF
C229    16V 10uF (D1 only, empty on D2)
C232    16V 220uF
C233    16V 47uF
C235    50V 3.3uF
C236    50V 1uF
C237    50V 100uF
C239    35V 47uF
C241    250V 1uF
C306    16V 220uF
C307    35V 1000uF
C308    35V 100uF
C309    35V 470uF
C311    63V 47uF
C312    50V 10uF
C332    16V 10uF (D1 only, empty on D2)
C335    50V 1uF
C403    16V 470uF
C411    50V 10uF
C412    50V 4.7uF
C413    50V 1uF
C414    16V 22uF
C415    16V 22uF
C417    16V 47uF
C421    16V 1000uF
C423    50V 2.2uF (D1 only, empty on D2)
C605    16V 220uF
C620    50V 1uF
C621    50V 10uF
C703    16V 47uF
C707    16V 47uF
C708    16V 47uF
C709    16V 47uF
C801    50V 0.1uF
C802    35V 470uF
C805    50V 1uF
C807    16V 100uF
C810    35V 100uF
C8011   50V 0.1uF
C8021   35V 470uF
C8051   50V 1uF
C8101   35V 100uF
D2 to D1 conversion
The conversion allows you to add the missing Digital RGBi mode from the D1 model.
Original info from Comos (http://csdb.dk/forums/index.php?roomid=7&topicid=25121)
and Lemon64.com forum post by keropi (http://www.lemon64.com/forum/viewtopic.php?t=52318&postdays=0&postorder=asc&start=12)

Updated 15-09-2017 With clean-ups, corrections and better documentation level by Guru (http://gurudumps.blogspot.com.au)

Modification for Commodore 1084S-D2 monitor to add Digital RGBi mode.
This works with Commodore 128 80 column mode (TTL RGBI) and makes
a 1084S-D2 into a 1084S-D1.
Listed parts are either missing or different on D2.

R242 - remove (in D2 is 330, in D1 is not connected)          Resistor quantities
R243 - 330 (in D2 is 2K)                                      -------------------
R245 - 470 (in D2 is wire link)                                    27  = 1
R246 - 220 (in D2 is 1K5)                                         100  = 1
R249 - 10K                                                        150  = 3
R250 - 4.7K                                                       180  = 3
R251 - 560                                                        200  = 4
R252 - 560                                                        220  = 1
R253 - 4.7K                                                       240  = 1
R435 - 27                                                         330  = 10
R436 - 2.7K                                                       430  = 6
R437 - 200                                                        470  = 5
R701 - 330                                                        560  = 2
R702 - 330                                                        680  = 1
R703 - 330                                                        820  = 4
R704 - 470                                                        1K   = 3
R705 - 470                                                        2.7K = 1
R706 - 470                                                        4.7K = 2
R707 - 330 (in D2 is 10K)                                          10K = 1
R708 - 470 (in D2 is wire link)                                  30/5W = 1
R709 - 330
R710 - 330
R711 - 330
R712 - 330
R713 - 330
R714 - 200
R715 - 200
R716 - 200
R717 - 100
R718 - 820
R719 - 680
R720 - 430
R721 - 430
R722 - 430
R723 - 180
R724 - 180
R725 - 180
R729 - 1K
R730 - 1K
R731 - 1K
R735 - 150 (if already present on D2, no change needed)
R736 - 150 (if already present on D2, no change needed)
R737 - 150 (if already present on D2, no change needed)
R738 - 820
R739 - 820
R740 - 820
R741 - 430
R742 - 430
R743 - 430
R744 - 30/5W (in D2 is wire link)
R745 - 240

C701 - 100nF (code=104, polyester or ceramic)
C702 - 100nF (code=104, polyester or ceramic)
C711 - 1.5nF (code=152, polyester or ceramic)
C704 - 10nF - normally no change needed (code=103, polyester or ceramic, if already present on D2, no change needed)
C423 - 2.2uF/50V electrolytic
C229 - 10uF/16V electrolytic
C332 - 10uF/16V electrolytic

J73 - remove 24K resistor and place wire shortcut between the two points

There are a large number of equivalents for transistors.
Use https://alltransistors.com or http://www.semicon-data.com to search for substitutes.
Q203 - 2SC1815
Q401 - 2SC1815
Q701 - 2SC1959 (2SC9013 is compatible but pins 2 & 3 must be swapped)
Q702 - 2SC1959
Q703 - 2SC1959
Q704 - 2SC3337 (2SC2570 can be used as a pin-compatible alternative)

I202 - 74LS86
I403 - LM7805. Remove the wire link between pins 1 & 3 on D2, add 7805 and a heat sink. make heat sink from a piece of metal.
I701 - 74LS06
I702 - 74LS06

add SW1 (4PDT mini push switch latching type. Switch has 2 rows of 6 pins, 12 pins total)
        Here's an example.... http://www.altronics.com.au/p/s1520-salecom-4pdt-pcb-mount-mini-pushbutton-switch/
        Also get a knob...... http://www.altronics.com.au/p/h6660-5.5mm-black-plastic-knob-for-s-1520/
add L704 bead (same type as L701/L702/L703) or use a link wire

D214 - 1N4148
D216 - 1N4148
D404 - 1N4148
D405 - 1N4148
D704 - 1N4148
D708 - 1N4148
D712 - 1N4148 (in D2 is wire link)
D713 - 1N4148 (in D2 is wire link)
D714 - 1N4148 (in D2 is wire link)
Gallery

 This work is licensed under a