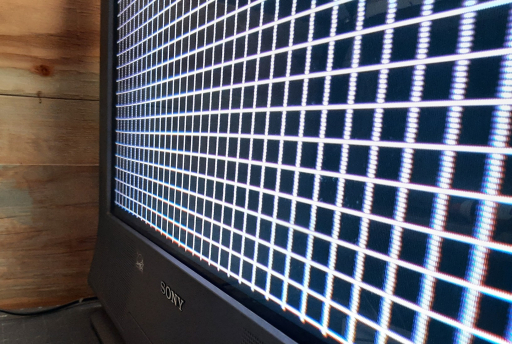
Flat CRTs, especially larger models, often suffer from poor geometry. Sony's Wega series of flat Trinitrons are especially notorious for this, and the picture often has a distinct "bowed" appearance on horizontal lines. This is often accompanied by poor convergence near the bottom edge of the screen. Unfortunately, aside from some very high end models, it cannot be corrected in the service menu. An extreme case can be seen in this screen shot from a KV-32FV310 (courtesy of r/crtgaming on Reddit):
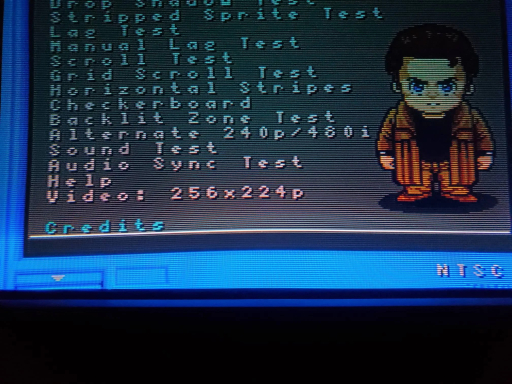
This is largely due to the design of the tube and yoke. Flat tubes are very sensitive to yoke alignment, and small changes in position can cause noticeable warping of the image. If the yoke is tilted too far downwards, it will cause the bowing pattern seen here.
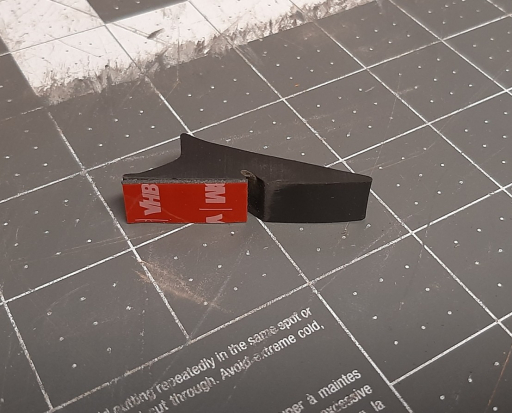
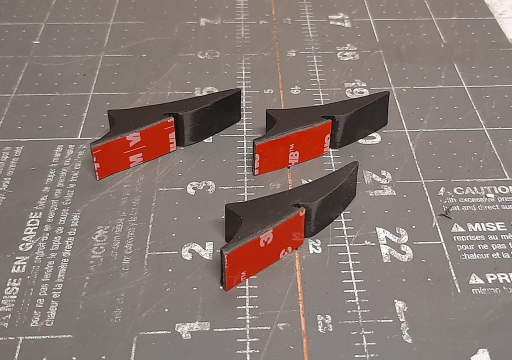
Typically, the yoke is secured in place by four rubber wedges that are attached to the tube with double sided foam tape:
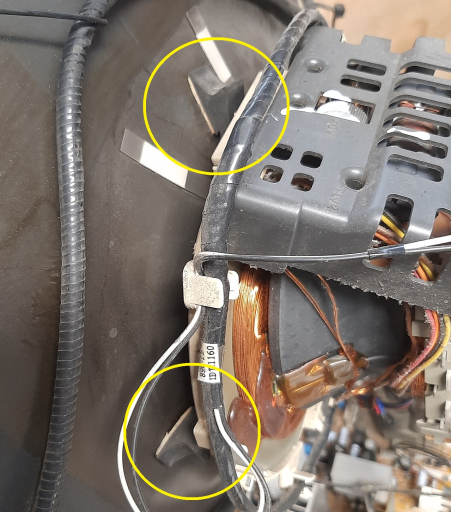
Unfortunately, the tape that Sony used for this purpose during the early 2000s was poor quality and has degraded over time. On most of these TVs, the wedges have shifted and the yoke is no longer secured tightly in place. Wega yokes are very heavy, especially on the larger size tubes, and most have begun to sag downwards. Fortunately, it is relatively easy to correct although it does require a manual yoke adjustment. While this procedure is most often needed on Sony Wega, TVs, it can be used on any flat CRT.
Safety
As with all geometry, convergence, and linearity adjustments, this procedure must be done with the TV powered on. As such, it is very important to follow safety precautions. CRT televisions contain a number of high voltage components that must be avoided.
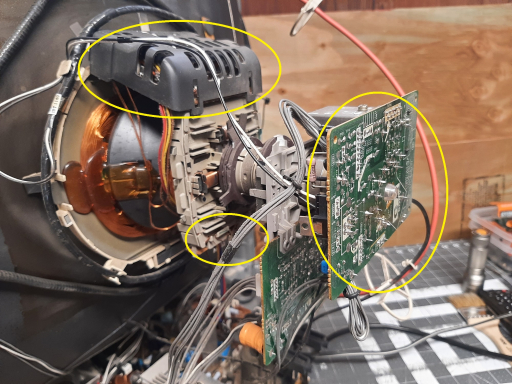
While the TV is turned on, do not touch the neck board, or any of the metal contacts on the top or bottom of the yoke. Some TVs have a plastic shield on the top of the yoke, but many do not:
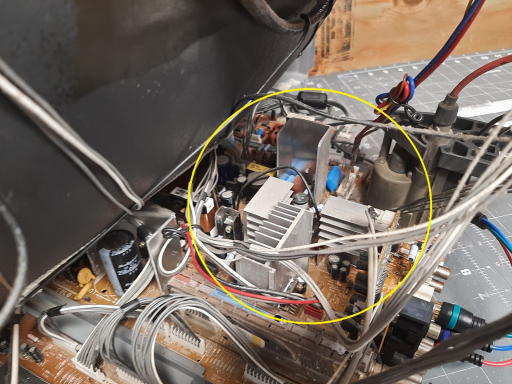
Any of the metal heat sinks on the chassis PCB can also be charged while the TV is turned on. Do not touch these either:
Only handle the outer plastic rim of the yoke:
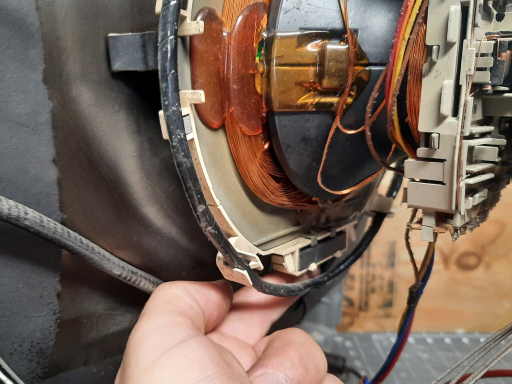
Setup
The TV seen here is a Sony KV-27FS13. At first, it suffered from pronounced horizontal bowing and very poor convergence.
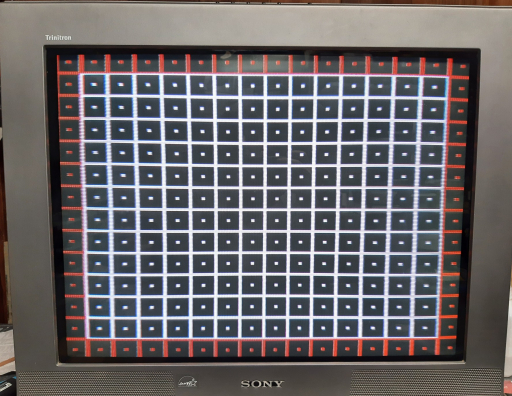
This process should be done using a white grid pattern. The convergence test pattern on the 240p test suite is ideal for this. It's best to use an all white pattern vs one with a colored border, otherwise it won't be possible to accurately calibrate dynamic convergence. With larger sets, it can be helpful to place a mirror in front of the TV so the test pattern is visible from the back.
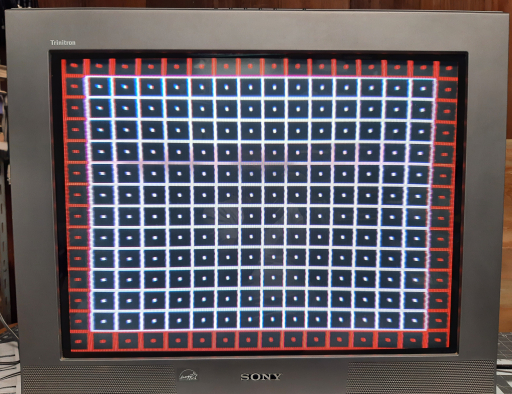
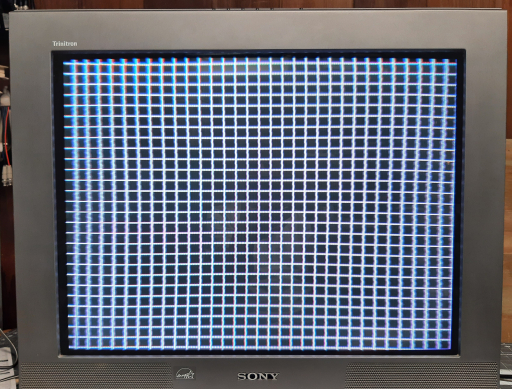
The first step should be to lower contrast in the user menu. This will reduce blooming and distortion, which will make it much easier to make accurate adjustments.
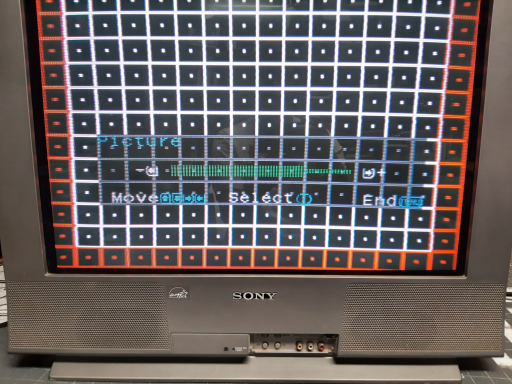
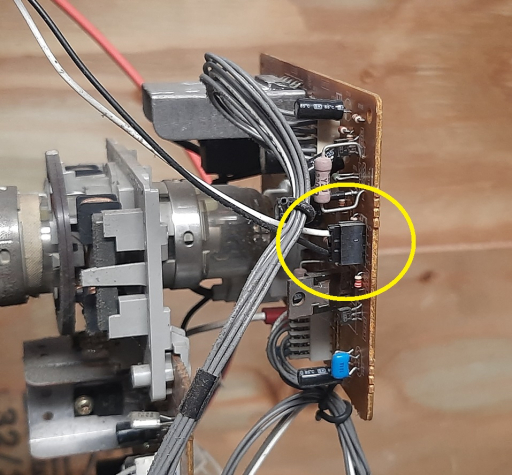
Next, disconnect the rotation coil and, in the user menu, set "tilt control" to zero. This will temporarily disable the rotation and horizontal trapezoid controls, both of which can cause distortion in the picture. The rotation coil is the black coil that runs around the edge of the yoke, and is connected by a black & white cable that can be unplugged from the neck board. It's best to do this with the TV turned off:
Adjustment
During this process, do not loosen the set screw on the tube neck. It is not necessary, as the yoke is flexible enough to be realigned with it left in place.
The first step is to remove the rubber wedge from the bottom of the TV. This will allow the yoke to move upwards more freely, and it can be used to secure the yoke in place during the rest of the procedure. Often, the bottom wedge will have fallen off and can be found lying on the chassis PCB.
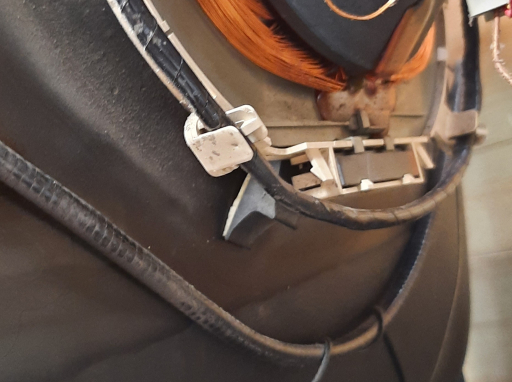
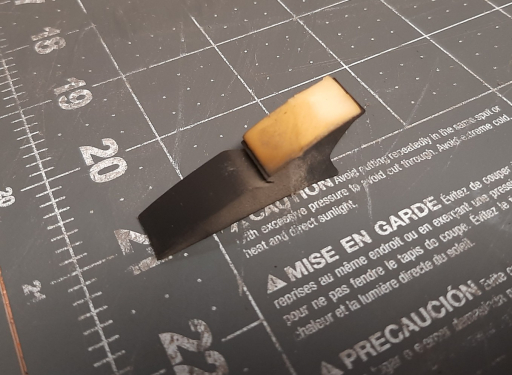
Next, prepare the wedge for reinstallation. The old sticky tape is no longer effective, and must be replaced. Scrape it off with a utility knife or paint scraper, remove the residue with sandpaper, and clean the surface with isopropyl alcohol. Apply a new piece of double sided tape (3M VHB tape works well).
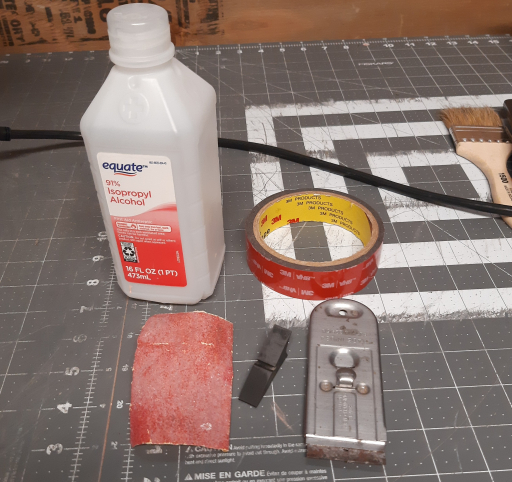
Next, remove the top wedge, clean the area underneath with isopropyl alcohol, and put it back slightly off center from its original position.
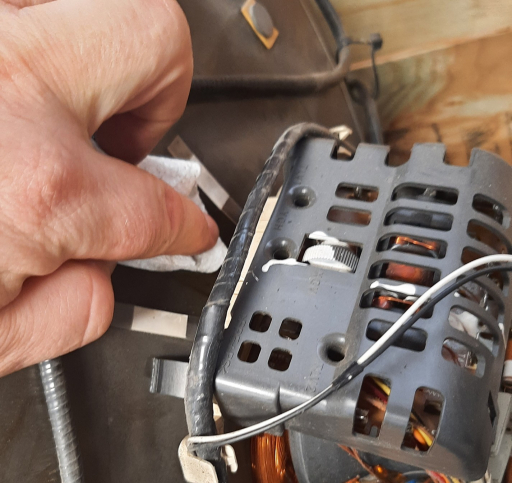
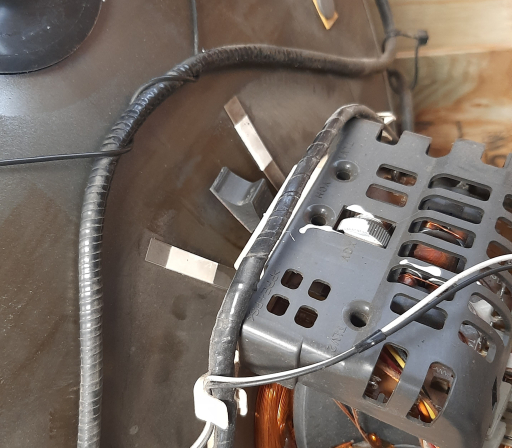
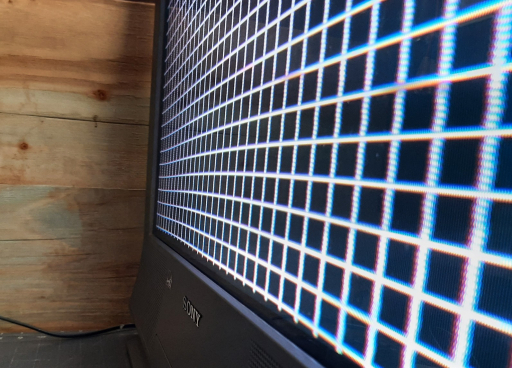
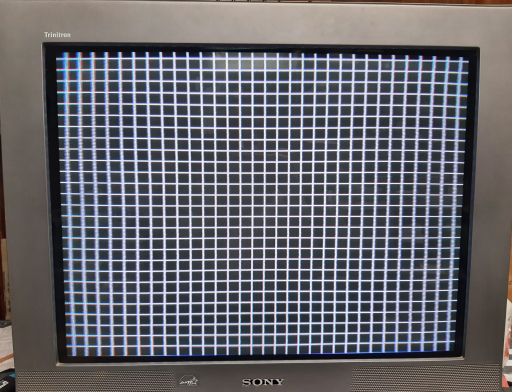
With the TV turned on, push the yoke upwards from the bottom, and hold it in place with the top rubber wedge. This will cause the bowed horizontal lines to straighten, and will improve horizontal convergence at the top and bottom of the screen.
These photos are from before & after the adustment:
Once you have found a good position for the yoke, take the rubber wedge you've prepared, and stick it firmly in place at the top of the yoke. Now the original wedge can be removed.
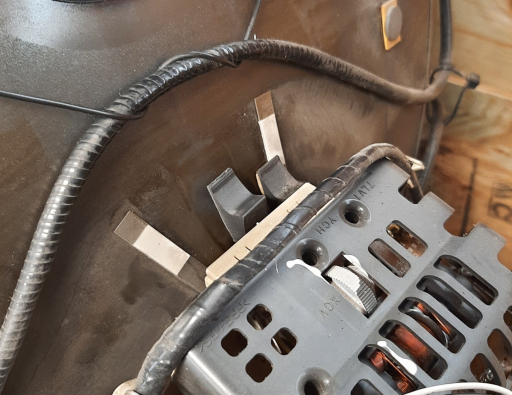
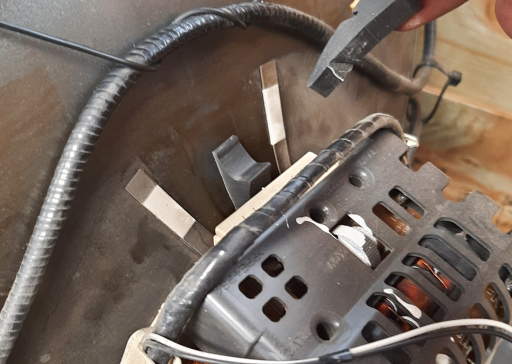
Finally, remove the left and right wedges. Replace the double sided tape on all three and put them back in place on both sides and the bottom of the yoke. Clean those areas of the tube first so that the wedges stick properly. Now, the yoke should be held securely in place.
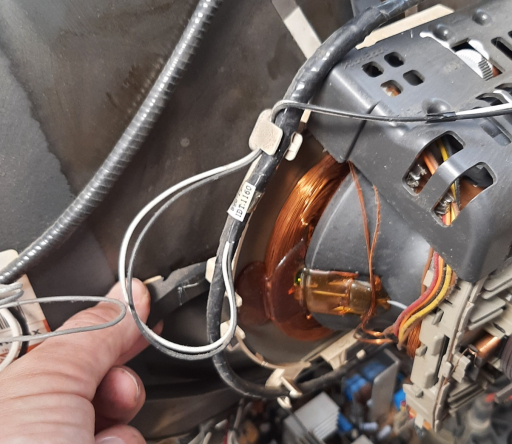
Finally, the rotation coil can be reconnected and the geometry adjusted in the service menu. Horizontal convergence can be fine tuned with the H Stat pot on the neck board and the YCH pot on the yoke. It may be necessary to add convergence strips to improve the corners.
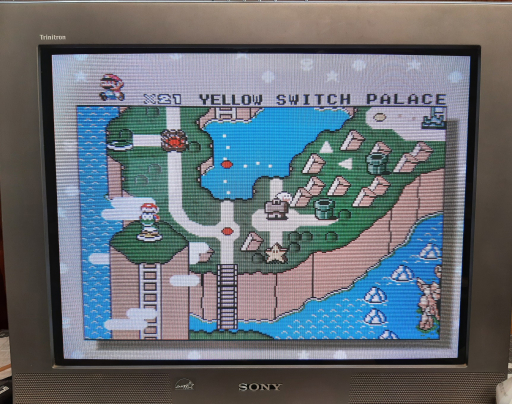
Now that the yoke has been realigned, horizontal lines are straight, convergence has improved, and games with square objects look much cleaner. This does not affect horizontal linearity, however, so 2D side scrolling games will still look a little wobbly in motion.
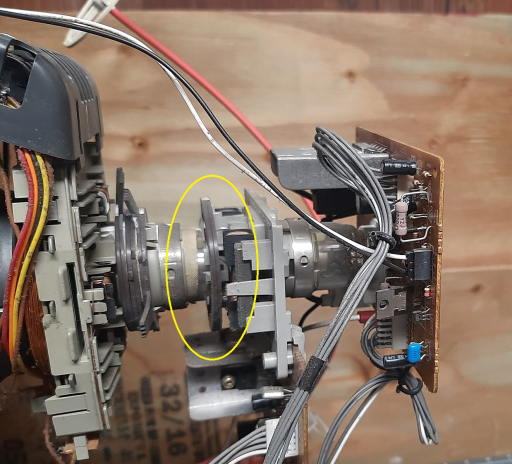
Y Axis Magnet
Many Sony Wega TVs have an additional set of magnetic rings around the neck of the tube, labeled in Sony's documentation as the "Y Axis Correction Magnet". These rings can affect horizontal bowing in a similar manner to the procedure described above. However, using this method on a TV with a loose yoke doesn't solve the root cause of the problem, which is likely to get worse as time goes on and the the yoke continues to sag. Also, the rings are glued in place and can be difficult to safely dislodge. Restoring the yoke to its proper position is a better solution in the long term, and is not difficult if done properly.
 This work is licensed under a