Magnavox 14MS2331/17
September 3, 2024, 8:20 pm
February 21, 2025, 7:14 pm
Summary
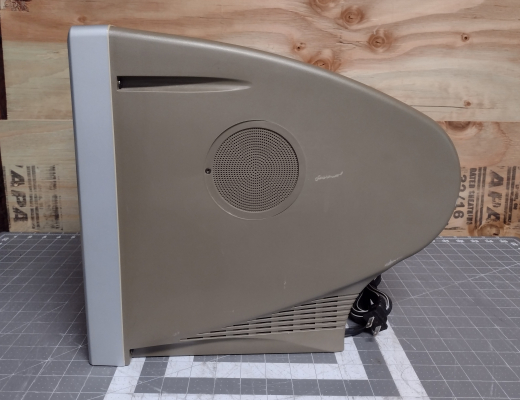
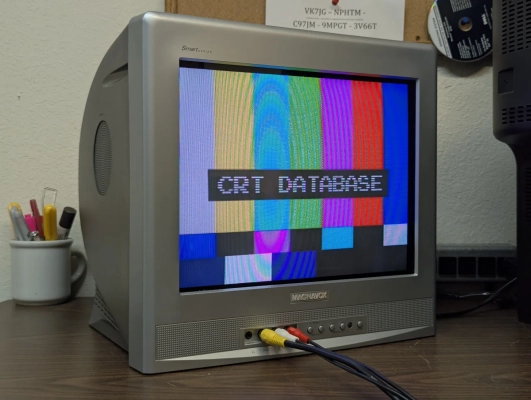
Compact 14" flat CRT from Philips, sold under the Magnavox brand. Manufactured by TCL in China, but uses many Philips components including the jungle chip. Includes stereo A/V and RF inputs, but can be modified to accept S-Video and Component.
Manuals
Media & Promo Materials
Mod & Repair Guides
Notes
This model uses a 1-chip jungle design, which has an integrated OSD and cannot accept an external RGB signal. However, it does have input pins for YPbPr and Chroma and can be modified for Component and/or S-Video inputs. The resulting picture quality is excellent.
The service manual has all kinds of geometry adjustments listed for certain variations of this chassis but this specific model only has horizontal position adjustment, no width. It does have vertical adjustments: Vpos, vertical slope, VS correction, and vertical size.
At least two different tubes were used in this TV, with different socket pinouts and neck boards.
L03.2U Chassis Notes
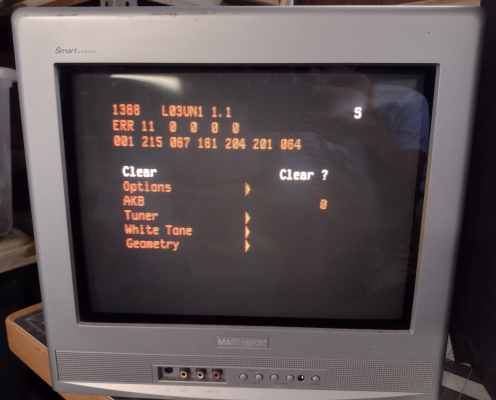
This model features an hour counter that can be seen at the top left of the service menu. It can be accessed by pressing the sequence "0 6 2 5 9 6 Menu" on the remote.
Like many Philips TVs, this model is capable of syncing to 50hz. Pal video will still display in black and white, unless the TV has been modified for component input.
Late model Philips TVs have a circuit that automatically compensates for variations in G2 voltage. When adjusting the screen pot on these TVs, it is best to disable "AKB" in the service menu. This feature can cause streaking on the image if G2 and brightness are not adjusted properly.
Several Philips TVs, including this model, are prone to oxidized microswitches on the front panel. This causes the buttons to perform the wrong function when pressed. This can be fixed by replacing the switches, or avoided by using the remote instead.
Gallery


| Specifications | |
|---|---|
| Brand: | Magnavox |
| Manufacturer: | TCL |
| Model: | 14MS2331/17 |
| Series: | MS |
| Viewable Size: | 14" |
| Input Signals: | Composite, RF |
| Native Resolutions: | 240p, 480i |
| Horizontal Scan Range: | 15 kHz |
| Vertical Scan Range: | 50 Hz, 60 Hz |
| Formats: | NTSC |
| Aspect: | 4:3 |
| Adjustments: | OSD Customer Controls, OSD Service Menu |
| Jungle IC: | TDA9377 |
| Tube: | Chunghwa , Irico , A36CPAA00X , A36AKJ15X , A36AKJ15X07 |
| Heater Voltage: | 6.3v |
| Deflection: | 90° |
| Mask: |
Slot

|
| Tint: | Dark |
| Removable Glare Film: | No |
| Yoke Horz. Inductance: | 2.235 mH (@ 10 kHz) |
| Yoke Vert. Inductance: | 14.837 mH (@ 100 Hz) |
| Yoke Horz. Resistance: | 3.81 ohm |
| Yoke Vert. Resistance: | 8.94 ohm |
| Speakers: | Stereo |
| Chassis: | L03.2U |
| Weight: | 25.6 lbs (11.6 kg) |
| Dimensions (W/H/D): |
356 x 343 x 394 mm
(14 x 13.5 x 15.5") |
| Application: | Consumer |
| Cabinet Material: | Plastic |
| Launched: | 2006 |
| Country of Manufacture: | China |
| Mods: | S-Video, Component YPbPr |
| Degaussing: | Automatic on Power-on |

 This work is licensed under a