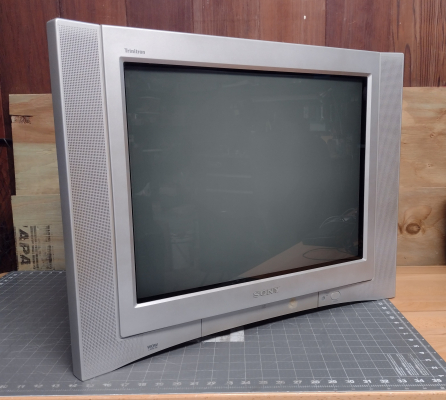
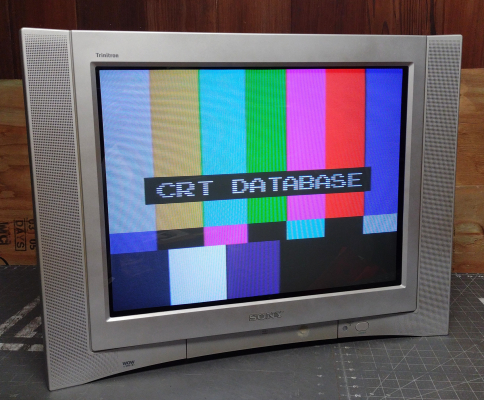
Sony KV-24FV300
October 2, 2024, 12:54 pm
June 3, 2025, 6:02 am
Summary
The KV-24FV300 was Sony's premium model in that size range. It is identical to the KV-24FS100, but with higher powered speakers and a multi-function remote.
Literature
Notes
A common problem with Sony's flat CRTs is horizontal bowing, especially near the bottom edge of the screen. This is usually caused by poor yoke alignment, and can be corrected. For more information, see the "Adjusting a Flat CRT Yoke" page.
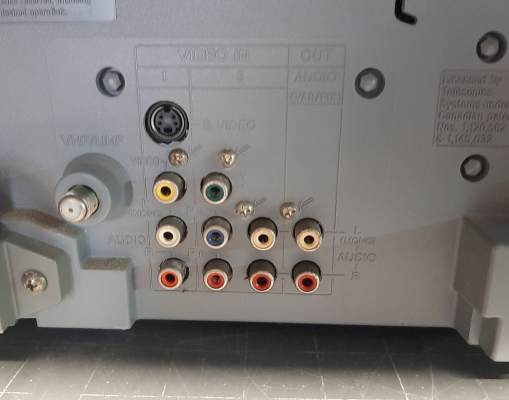
Like the other BA-6 chassis Trinitrons, this TV uses a one-chip design and cannot be modified to accept RGB. However, its component video quality is excellent.
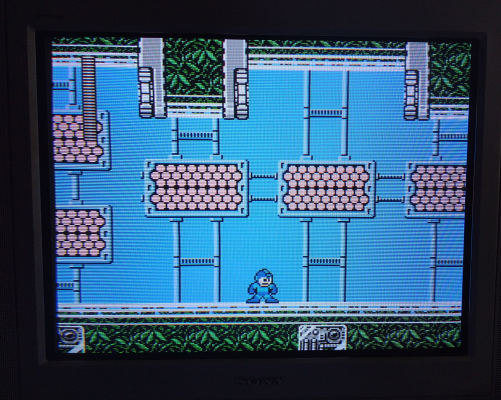
Most of Sony's flat Trinitrons contain a velocity modulation circuit. VM enhances dark outlines on screen, which helps hide composite dot crawl and can make TV and movies look better. However, it ruins pixel art and significantly degrades the appearance of 2D games. Fortunately, on this model it can be disabled in the user menu.
Disassembly Notes
The screw posts across the top of the FV300 series have a strong tendency to become brittle with age, and I've noticed they snap very easily with the first turn of a screwdriver. My recommendation to avoid this damage is to go very, very slowly when you try to start the screw with the first turn. Once the screw breaks loose (hopefully without damage to the screw post inside) you can continue turning at a normal speed. When you go to replace the screws during reassembly, take care not to over-tighten them to avoid breaking the plastic.
The rear shell can be particularly difficult to pull off even after removing all of the screws. For some reason the plastic tends to seal itself very tightly with age and the larger the screen size you're working with the harder it seems to be to get it to detach. Take a moment to triple-check that you have removed ALL of the screws that are marked with => arrows on the rear, and especially bend down to eye level with the inputs area to make sure you got all of the screws near the plugs and all 3 of the somewhat hidden screws directly above the inputs area.
Once you're sure the screws are all removed give the rear shell a few strong pulls or angled jostles to try and break the seal loose. Once it releases somewhere you can take advantage of that gap to work it out further. It may help for a second person to assist you on a 27" or larger chassis during this process.
Gallery


| Specifications | |
|---|---|
| Brand: | Sony |
| Manufacturer: | Sony |
| Model: | KV-24FV300 |
| Series: | Wega |
| Viewable Size: | 24" |
| Inputs: | Composite, S-Video, RF, Component YPbPr |
| Native Resolutions: | 240p, 480i |
| Horizontal Scan Range: | 15 kHz |
| Formats: | NTSC |
| Aspect: | 4:3 |
| Adjustments: | OSD Customer Controls, OSD Service Menu |
| Tube: | Sony Trinitron , A60LPN70X |
| Mask: |
Aperture Grille

|
| Tint: | Dark |
| Speakers: | Stereo |
| Remote: | RM-180 |
| Chassis: | BA-6 |
| Weight: | 81 lbs (36.7 kg) |
| Application: | Consumer |
| Launched: | 2002 |
| Country of Manufacture: | Mexico |
| Degaussing: | Automatic on Power-on |

 This work is licensed under a