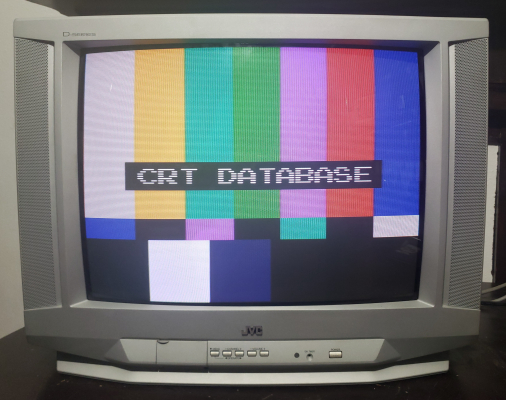
JVC AV-20D202
January 23, 2023, 1:36 pm
December 1, 2025, 8:46 pm
Summary
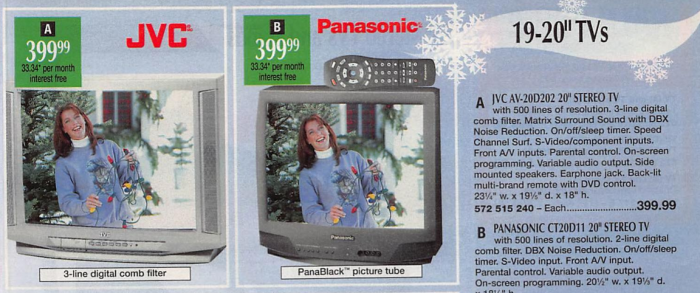
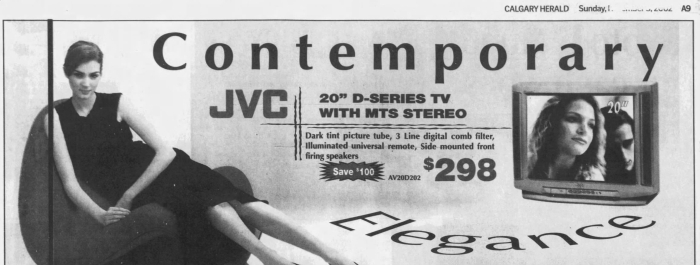
The debut model of the smallest size of the D-Series.
Manuals
Media & Promo Materials
Mods & Repair Guides
Notes
Be aware that settings for red push are saved separately for different inputs and picture modes. To disable for all combinations, see full instructions under Mods & Repair Guides.
Saving Picture Settings
Unlike most sets which automatically save changes made to the picture settings, changes made to the picture settings in the user menu will not save unless one first enters "SET VIDEO STATUS" and then selects "SAVE AS CHOICE". This is also covered in page 31 of the owner's manual.
In order to store changes made to the the picture settings in the user menu:
- First compare which color temperature you prefer by pressing the Video Status button on the remote, as this will be the starting point for your custom picture settings. Select 'Theater' if you would like a color temperature closer to reference 6500K, or 'Standard' to have a much more blue color temperature.
- Press Menu, then CH- until you reach "SET VIDEO STATUS" and press Vol+
- Make all your picture settings adjustments, and then select "SAVE AS CHOICE"
- After that, you can select Choice as the Video Status to recall your settings.
Selecting 'Choice' will have the same picture settings for all inputs. If you would like to customize the picture settings per input, then the way to go about this is to set the Video Status to Standard, and then customize each source in the service menu, as detailed here.
Composite 240p Performance, Disabling Vertical Edge Enhancement
by Eli Krause
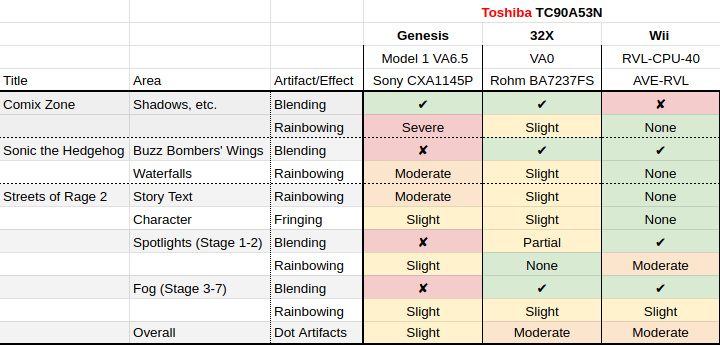
I. For composite decoding this set uses a Toshiba TC90A53N, a 3-line digital comb filter. One beneficial feature of this comb filter is its "1-line color dot interference reducer circuit". Depending on the console/revision, dot artifacting ranges from slight to moderate, and blending effects may be broken. Using an external notch filter to decode composite instead and sending that to the s-video or component input would blend all dithering patterns and remove nearly all dot artifacts (guide here).
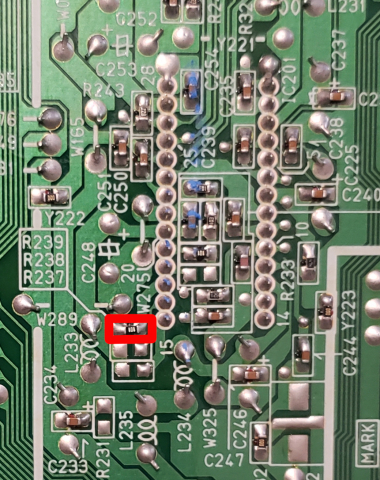
II. Just as velocity scan modulation is intended to increase contrast at horizontal edges, vertical edge enhancement artifically boosts contrast at vertical edge transitions for composite and RF sources, changing the color palette in the process. To reduce this to its minimum, the high signal sent to pin 17 of the comb filter must be brought low which can be achieved by removing the resistor leading to that pin. On the AV-20D202 and AV-27D302 it is R239 on the bottom of the main board. On the AV-32D502 and AV-32D302 it is R247.
Gallery

| Specifications | |
|---|---|
| Brand: | JVC |
| Manufacturer: | JVC |
| Model: | AV-20D202 |
| Series: | D-Series |
| Viewable Size: | 20" |
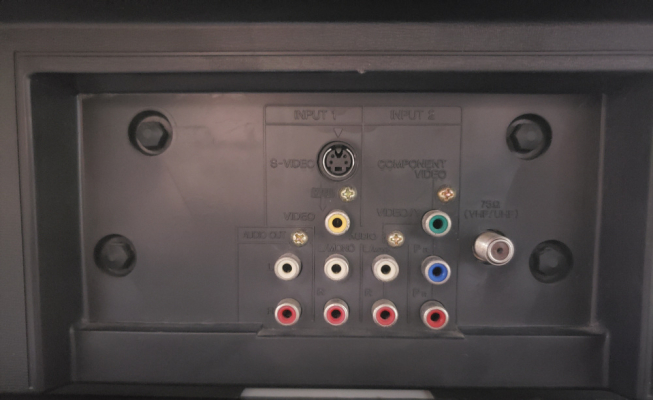
| Inputs: | Composite, S-Video, RF, Component YPbPr |
| Native Resolutions: | 240p, 480i |
| Formats: | NTSC |
| Aspect: | 4:3 |
| Adjustments: | OSD Customer Controls, OSD Service Menu |
| Jungle IC: | TB1253AN |
| Comb Filtering: | 3-Line Digital |
| Comb Filter IC: | TC90A53N |
| Focus Type: | Single |
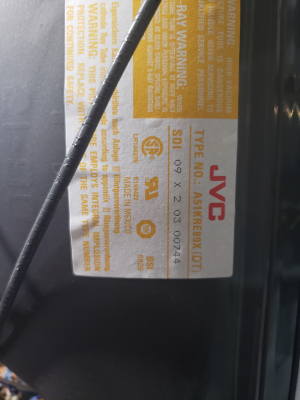
| Tube: | Samsung , A51KRE89X |
| Deflection: | 90° |
| Mask: |
Slot

|
| Pitch: | .81 mm |
| Tint: | Dark |
| Yoke: | QQD0011-001 |
| Yoke Horz. Inductance: | 2.83 mH (@ 10 kHz) |
| Yoke Vert. Inductance: | 17.0 mH (@ 100 Hz) |
| Yoke Horz. Resistance: | 3.1 ohm |
| Yoke Vert. Resistance: | 9.3 ohm |
| Speakers: | Stereo, 1W x 2 |
| Remote: | RM-C304 |
| Chassis: | FD, A66 |
| Weight: | 45 lbs (20.4 kg) |
| Dimensions (W/H/D): |
592 x 456 x 487 mm
(23.3 x 17.9 x 19.1") |
| Application: | Consumer |
| Cabinet Material: | Plastic |
| Launched: | 2001 |
| MSRP: | 249 USD |
| Country of Manufacture: | Mexico |
| Market: | North America |
| Power Standard: | 120v |
| Mounting: | Table Surface (Standard) |
| Mods: | RGB via Mux |
| Degaussing: | Automatic on Power-on |
 This work is licensed under a